
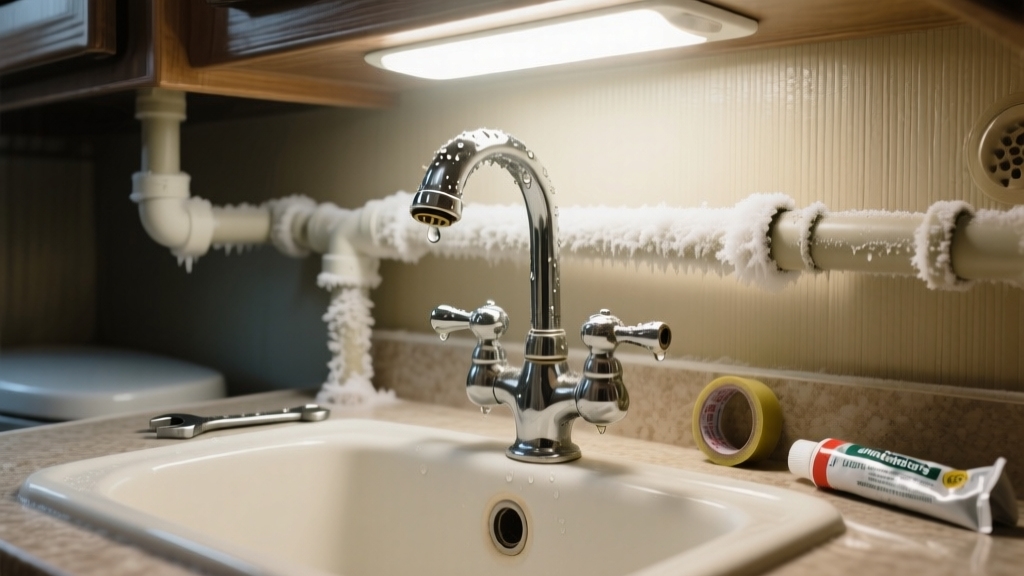
If your bathroom faucet doesn’t work after dewinterizing your RV, first check that the water heater bypass valve is properly positioned to allow hot water flow. Then, flush all water lines thoroughly to remove residual antifreeze and clear trapped air by opening all faucets while pressurizing the system.
Don’t forget to inspect and clean the faucet aerator and test your water pump and freshwater system pressure. Keep following these steps to fully restore your plumbing functionality and avoid common pitfalls.
Key Takeaways
- Check and reset the water heater bypass valve to restore hot water flow if no hot water reaches the bathroom faucet.
- Flush all water lines thoroughly to remove residual antifreeze causing faucet flow and odor issues.
- Release trapped airlocks by opening all faucets and running the water pump until steady flow is achieved.
- Inspect and clean the faucet aerator and cartridge to remove mineral deposits or debris blocking water flow.
- Verify water pump operation and ensure all valves are fully open to maintain proper water pressure at the faucet.
Checking the Winterization Bypass Valve Position
When you de-winterize your RV, the first step is to check the position of the water heater bypass valve, as it often causes faucet issues if left in bypass mode. Most RVs have one-, two-, or three-valve manual bypass systems designed to reroute water around the heater during winterization.
These bypass systems are installed by most RV manufacturers for precisely this purpose to manage plumbing and prevent unnecessary antifreeze use. Ensuring proper valve function is similar to verifying the operation of load capacity and material durability in ladder racks, where correct setup prevents system failures.
If the valve handle is turned 90 degrees away from the water heater supply line, it remains in bypass, preventing hot water flow. To restore normal function, align the valve handle with the supply line, reopening water flow to the heater.
Visually confirm valve orientation and consult your RV’s specific valve type and manufacturer instructions. Neglecting this step commonly leads to no hot water at faucets post-winterization, making valve position verification critical in troubleshooting.
Flushing Residual Antifreeze From Water Lines
You’ll need to flush the water lines thoroughly to remove any residual antifreeze that can clog or damage your faucet. Start by running fresh water through all faucets and drains until the liquid runs clear and free of antifreeze color.
Remember that proper flushing and sanitizing are crucial because even small amounts of antifreeze can affect the taste and safety of the water in your RV. This step is essential to restore proper water flow and prevent contamination in your RV’s plumbing system.
Using water-resistant materials in your plumbing can help maintain system integrity during seasonal changes.
Flushing Process Tips
Although removing antifreeze from your RV’s water lines may seem straightforward, flushing them thoroughly requires a precise approach to guarantee all residues are eliminated.
Start by fully opening all faucets including hot, cold, outside shower, and toilet flush to ensure fresh water reaches every line. Use city water or the fresh water tank with the 12-volt pump engaged to push water through the system. Flush until the water runs clear and free of antifreeze odor or color.
Don’t forget to drain and flush the water heater separately if you used a bypass. Using a multi-stage smart charging process for your RV battery charger during this maintenance can help maintain battery health and power the pump efficiently.
- Open and run all faucets and fixtures during flushing
- Use clear connectors to visually confirm water clarity
- Flush for several minutes until water is clear and odorless
- Sanitize system post-flush with a diluted bleach solution for safety
Additionally, regular maintenance and flushing help to prevent buildup and ensure optimal tank health over time.
Antifreeze Removal Importance
Because residual antifreeze lingers in your RV’s water lines, it can cause unpleasant tastes, odors, and even impair faucet and pump functionality. Antifreeze, typically propylene glycol-based, is safe but unpalatable and must be fully flushed to prevent contamination of your potable water. Applying protective coatings can also help safeguard plumbing components from degradation after winterization.
Residual antifreeze can coat valves, traps, and internal components, blocking water flow and causing faucets to appear nonfunctional. To restore proper operation, flush all fixtures—bathroom faucets, showers, toilets, and exterior showers—until clear water runs without color or taste. Combining both methods of winterization, such as using antifreeze and blowing out lines, can help ensure comprehensive removal of residual moisture and antifreeze.
Multiple flush cycles are essential, followed by sanitizing your water system to remove lingering residue and maintain hygiene. Incomplete removal risks damage to seals, reduced sanitizing effectiveness, and persistent odors. Using chemical-resistant coatings on internal surfaces can extend the life of plumbing systems exposed to winterization chemicals.
Releasing Trapped Air in the Plumbing System
If your bathroom faucet isn’t working, trapped air in the plumbing system might be causing an airlock. You’ll need to identify these air pockets by checking for sputtering or uneven water flow. Loss of water pressure may indicate air in the plumbing system.
Then, use purging techniques like opening all faucets or pressurizing the lines to release the trapped air efficiently. Proper maintenance, including regular sealing of water-related wood surfaces, helps prevent damage that could affect plumbing integrity.
Identifying Airlocks
When you notice irregular water flow or knocking noises in your RV plumbing after dewinterizing, you’re likely dealing with airlocks—trapped air pockets disrupting water circulation. These airlocks often cause sputtering faucets, low water pressure, and banging sounds, especially in hot water lines.
Proper maintenance, including regular pressure checks, can help prevent issues related to tire pressure. To identify them effectively, focus on these key signs:
- Listen for unusual noises from pipes or the water pump cycling irregularly.
- Observe sputtering or inconsistent flow at faucets and showerheads.
- Check for a significant drop in water pressure below 40-60 psi norms.
- Note if issues mainly affect hot water lines while cold water remains steady.
- Consider if recent plumbing work or system refilling may have introduced trapped air pockets.
Purging Techniques
Although airlocks can disrupt your RV’s water flow, you can effectively clear them by purging trapped air through several proven techniques.
Start by turning off the water pump and filling the fresh water tank fully. Open all faucets and valves, then turn the pump on to flush air out until water runs steadily. It is important to open diverter valves on shower faucets and outside showers to ensure all air pockets are released.
Using the correct water pump maintenance procedures during this process helps prevent future airlock issues. Alternatively, use compressed air at low pressure after draining water lines. Manually cycling faucets and managing system venting also help dislodge air pockets. Finally, perform post-purge checks for leaks and pump function.
Inspecting and Cleaning the Faucet Aerator
Because faucet aerators play a crucial role in maintaining water flow and quality, inspecting and cleaning them regularly is essential after dewinterizing your RV. Mineral deposits and debris often clog aerators, reducing pressure and causing uneven water streams.
To inspect and clean:
- Use pliers to carefully remove the aerator from the faucet tip. Faucet aerators are a small device attached to the faucet end that mixes air with water to reduce splashing and conserve water.
- Disassemble and inspect components for buildup or damage.
- Soak parts in white vinegar for 30 minutes to dissolve mineral deposits.
- Scrub with a toothbrush, rinse thoroughly, then reassemble and reinstall securely.
Regular cleaning prevents clogs from hard water minerals and sediment, ensuring steady flow and extending faucet lifespan. Using biodegradable RV chemicals in your water system can also help maintain cleanliness and prevent buildup. Handle aerators gently to avoid damage and replace if necessary.
Testing the Freshwater Tank and Water Pump
To guarantee your freshwater system operates reliably after dewinterizing, start by testing the freshwater tank and water pump thoroughly. Pressurize the freshwater system with compressed air between 80 and 100 psi, then monitor the pressure gauge for 10 minutes. Stable pressure confirms no leaks within the pressurized distribution system.
Visually inspect fittings and under sinks for water pooling if pressure drops. Next, verify the water pump’s electrical connections, then activate it to circulate water. Listen for abnormal noises that may indicate mechanical issues or air presence.
Keep all faucets closed initially to build pressure, then open them to check flow consistency. After repairs, retest pump operation and inspect for leaks to ensure proper function before moving on. Additionally, maintaining the correct pressure rating in your water system is critical to ensure safe and efficient operation.
Examining Faucet Cartridge and Valve Components
After confirming your freshwater system and pump are functioning properly, the next step is to examine the faucet cartridge and valve components. Cartridges regulate water flow and temperature by mixing hot and cold water, but winterizing can cause seals to dry out, crack, or accumulate mineral deposits, leading to malfunction.
Given that the shower functions normally while other faucets do not, it’s important to consider that check valves or valves associated with specific faucets may be stuck or blocked, affecting water flow. Monitoring water system components regularly with accurate real-time data can help prevent such issues.
Check faucet cartridges after winterizing; dried seals and mineral buildup often cause flow and temperature issues. Here’s how to proceed: check if faucet handles turn smoothly; stiffness may indicate cartridge issues. Remove and inspect cartridges for cracks, corrosion, or buildup.
Run water through disconnected cartridges to ensure unobstructed flow. Clean cartridges with descaling agents or replace seals and lubricate to restore function. Be sure to reassemble carefully, ensuring proper alignment and sealing. Address valve body corrosion or damage if present, as these can also impact faucet performance.
Verifying Water Pressure and Plumbing Valves
When verifying water pressure and plumbing valves in your RV post-dewinterizing, start by measuring system pressure at the city water inlet using a reliable gauge. Confirm pressure stays within the 40–60 psi range to prevent damage and malfunction. It is recommended to perform a pressure test at approximately 80 psi to ensure the integrity of the fresh water system.
Confirm all main shutoff valves, including city water and freshwater tank valves, are fully open. Check inline ball valves and anti-siphon or check valves for correct orientation and smooth operation, avoiding flow restrictions. Use clean compressed air for leak testing if needed, and release residual pressure afterward to protect check valves.
Install or verify a pressure regulator at the inlet to maintain safe pressure levels. Finally, test downstream valves under sinks and faucet lines manually to ensure no debris or buildup obstructs water flow and causes faucet failure.
Frequently Asked Questions
Can Old Antifreeze Damage the Bathroom Faucet Seals or Fixtures?
Old antifreeze itself rarely damages bathroom faucet seals or fixtures chemically, especially if it’s propylene glycol-based. However, leftover residue can cause mechanical issues like clogging or improper seal seating.
You should thoroughly flush your water system after dewinterizing to remove any buildup. Over time, seals degrade from age and stress, not antifreeze. Regular maintenance and using the right RV antifreeze will help keep your faucet functioning properly.
How Does Water Temperature Affect Faucet Performance After Dewinterizing?
Water temperature affects your faucet by influencing valve material expansion, mineral deposit behavior, and flow dynamics. Cold water can cause sluggish operation, mineral buildup adhesion, and reduced flow due to higher density.
As water warms, valve seals expand, deposits soften, and flow improves. To restore performance, flush your lines with gradually warmed water, clear aerators, and guarantee consistent temperature stabilization to prevent leaks and maintain ideal pressure and flow after dewinterizing.
Are There Specific Antifreeze Brands Better for Preventing Faucet Issues?
Yes, you should choose propylene glycol-based antifreeze like Peak RV & Marine or Splash RV & Marine for preventing faucet issues. These brands are non-toxic, safe for potable water systems, and include corrosion inhibitors protecting seals and plumbing.
Avoid ethylene glycol types, which are toxic and damaging. Use ready-to-use solutions to guarantee proper concentration and thorough winterization. This approach minimizes faucet malfunctions after dewinterizing your RV.
Can Faucet Problems Cause Low Water Pressure Elsewhere in the RV?
Yes, faucet issues like clogged aerators or internal restrictors can reduce water pressure downstream in your RV. Sediment buildup inside faucet lines may partially block flow, lowering pressure not only at that fixture but elsewhere.
However, localized faucet malfunctions usually don’t affect overall system pressure. To fix this, clean or replace faucet components and inspect supply lines for sediment or leaks that might be causing widespread pressure drops.
Should I Inspect the Water Heater if Only the Bathroom Faucet Fails?
You don’t need to inspect the water heater if only the bathroom faucet fails. Focus on localized issues like clogged aerators, trapped air, or stuck check valves near that faucet. Test water flow directly from the supply line and clear any blockages.
Only consider water heater inspection if multiple faucets lack hot water or if you detect abnormal pressure or heating problems across the system. This targeted approach saves time and effort.
Restore Full RV Bathroom Plumbing Functionality with Confidence
If your bathroom faucet still doesn’t work after dewinterizing your RV, treat the problem like untangling a knotted rope—methodically and patiently. Check the bypass valve, flush out antifreeze, release trapped air, and inspect the aerator and cartridge.
Test your water pump and freshwater tank, and verify all plumbing valves are open with proper pressure. Following these steps will help you pinpoint and fix the issue efficiently, getting your faucet flowing smoothly again.

