
Last Updated on May 12, 2025
To quiet your RV air conditioner, start by cleaning or replacing filters and sealing any duct gaps to optimize airflow and reduce noise. Secure loose screws and add vibration dampeners like rubber pads under mounting points to cut rattling.
Consider installing an RV A/C silencer and sound absorption panels around the unit without blocking ventilation.
Regular maintenance also keeps components like the compressor and fan running smoothly, minimizing hums and grinding. Exploring these strategies can reveal even more ways to achieve a quieter ride.
Key Takeaways
- Install an RV AC silencer like the Dometic DA100 to significantly reduce noise from airflow and vibrations.
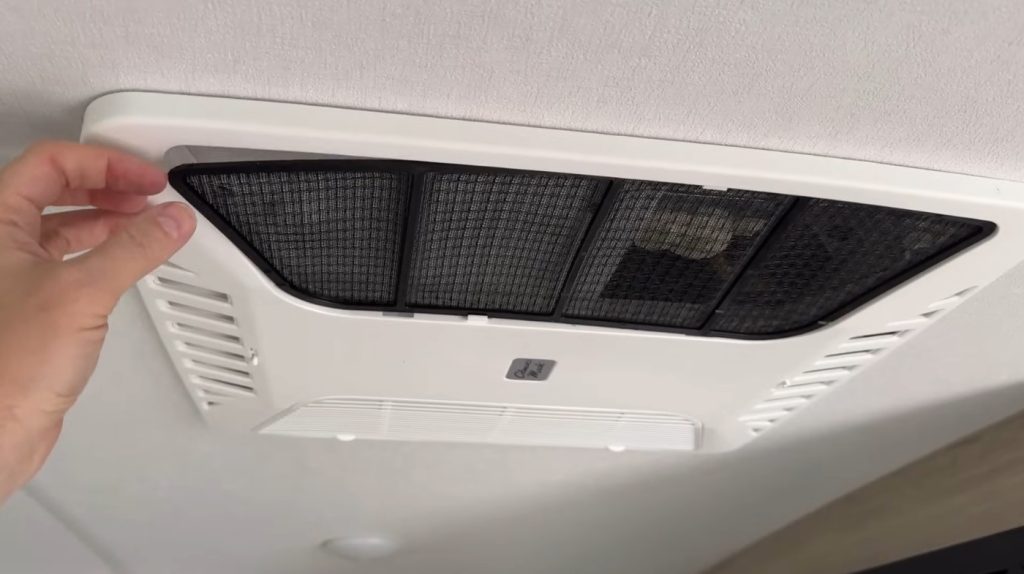
- Clean or replace air filters regularly and seal duct gaps to optimize airflow and minimize sound amplification.
- Use vibration dampeners such as rubber pads under mounting points to reduce rattling and mechanical noises.
- Add acoustic foam panels around the AC compartment without blocking ventilation to absorb sound waves.
- Perform regular maintenance, including tightening screws and inspecting bearings, to prevent buzzing and grinding noises.
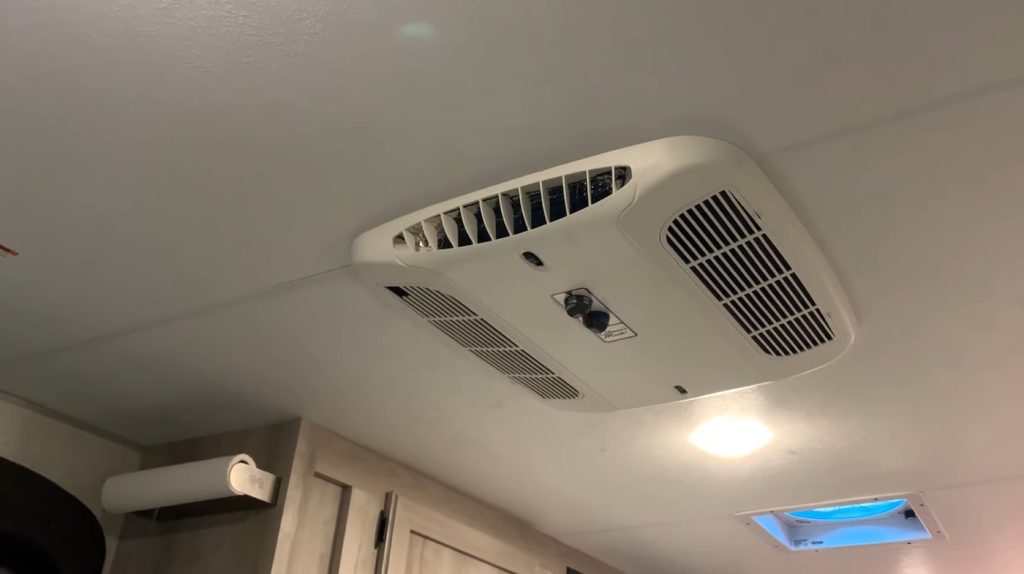
Common Noise Sources in RV Air Conditioners
When your RV air conditioner starts making noise, pinpointing the source quickly can save you from bigger problems. Common noise origins include the blower fan pushing air through the system, which often causes rattling or vibrations.
Airflow through ducts, especially if undersized or poorly installed, can amplify these sounds. Poor installation may lead to increased noise levels and should be checked.
The compressor and condenser fan in the outdoor unit may produce humming or grinding noises, signaling possible wear or malfunction. Humming or grinding from the compressor and condenser fan often indicates wear or potential malfunctions.
Internally, frozen evaporator coils, clogged filters, or loose screws can generate buzzing or rattling. Electrical issues might cause humming, while worn bearings or misaligned belts contribute to grinding.
Dirt buildup and lack of lubrication increase friction noise. Identifying these specific sources helps you address the root cause effectively and maintain peak RV AC performance.
Effective Noise Reduction Methods for RV AC Units
Although RV air conditioners inherently generate some noise, you can greatly reduce it by applying targeted solutions spanning product upgrades, mechanical adjustments, and acoustic enhancements.
Start with installing an RV AC Silencer like the Dometic DA100, which reduces noise by 8-10 dB and improves airflow via electrostatic air filters. Many users report significant noise reduction and appreciate the ease of installation with these silencer kits.
Mechanically, optimize airflow by cleaning or replacing air filters and sealing gaps in ducts to minimize fan strain and vibration. Adjust or isolate the fan and motor to decrease mechanical noise transmission.
Acoustic methods include adding sound absorption panels and acoustic boards to absorb and redirect sound waves near the unit. For cost-effective results, consider DIY rearrangements of intake and output pathways, using pressure-supported panels, and referencing online tutorials.
Comparing Ducted and Non-Ducted Systems for Noise Control
Reducing noise from your RV air conditioner involves more than just adding silencers or sound panels; the choice between ducted and non-ducted systems plays a significant role.
Ducted systems generally operate quieter because the ductwork muffles sound and distributes air evenly, reducing the AC’s workload. This results in stable, less noisy performance with fewer hot or cold spots.
They also allow for quieter operation as vents are distanced from the fan, which contributes significantly to noise reduction. Ducted systems run quieter by muffling sound and distributing air evenly, enhancing comfort with less noise and fewer temperature swings.
In contrast, non-ducted units tend to be louder since their components are exposed and lack sound insulation. They produce more noticeable noise from direct airflow and frequent cycling. However, newer non-ducted models have incorporated sound-reducing features to mitigate this.
While ducted systems are more complex and costly to install, their superior noise control and even cooling often justify the investment compared to simpler, noisier non-ducted options.
Installation Tips for Noise-Reducing Accessories
Since noise control hinges on proper accessory installation, you should focus on positioning silencers, soundproofing materials, and vibration dampeners to target key noise sources effectively.
Install the RV A/C silencer by removing the shroud and fitting it securely between the vent and unit; make certain the expanded intake box aligns correctly to optimize airflow and noise reduction. Easy installation allows this process to be completed in under 15 minutes using minimal tools.
Apply lightweight acoustic foam panels around compartments near the A/C unit without obstructing ventilation, targeting surfaces that reflect sound.
Place vibration dampeners such as rubber pads under the unit’s mounting points, tightening all fasteners to eliminate rattling. Verify that these materials don’t interfere with airflow or cooling performance.
Combined, these precise installations reduce intake noise, airborne sound reflections, and mechanical vibrations, providing a quieter RV air conditioning experience.
Benefits of Reducing RV Air Conditioner Noise
When you minimize the noise from your RV air conditioner, you create a more comfortable and functional living environment. Reduced noise improves sleep quality by eliminating disruptive sounds, essential for your rest.
It enhances overall comfort, allowing you to relax or work without distraction. You’ll notice improved focus and productivity during work or leisure activities inside the RV.
Modifications such as installing an acoustic panel divider can significantly reduce noise levels. Reduced noise enhances sleep, comfort, focus, and productivity inside your RV for a better living experience.
Lower noise levels decrease stress and irritation, contributing to better mental health and a calmer atmosphere. Quieter operation also facilitates clearer conversations, improving social interactions. Choosing models with lower decibel levels like 52 dB can greatly enhance your experience inside the RV.
From an economic standpoint, noise reduction can extend your air conditioner’s lifespan by reducing mechanical strain, potentially lowering maintenance costs. Additionally, quieter units contribute less to noise pollution, supporting environmental preservation and community well-being around campsites.
Frequently Asked Questions
Can Noise Reduction Affect My RV Air Conditioner’s Cooling Performance?
Yes, noise reduction can affect your RV air conditioner’s cooling performance. If you restrict airflow by adding sound-absorbing materials improperly, you risk reducing cooling efficiency.
However, well-designed noise dampening that maintains or improves airflow won’t greatly impact cooling. You should carefully install compatible materials, guarantee proper sealing, and test noise and airflow afterward.
How Often Should I Clean or Replace Filters to Maintain Quiet Operation?
You should clean your RV air conditioner filters every three months under normal conditions to maintain quiet operation. In dusty environments or with full-time use, clean them every one to two months or even every two to three weeks.
Replace filters according to manufacturer guidelines typically every two years or 30,000 miles for engine filters. Regular maintenance prevents airflow restriction, reduces noise, and improves efficiency, so inspect filters regularly and follow gentle cleaning methods.
Are There Any Noise-Reducing ACcessories Compatible With Portable RV AC Units?
You won’t find many noise-reducing accessories designed specifically for portable RV AC units. Most products target ducted systems like Dometic or GE models. To quiet your portable unit, consider custom DIY modifications or applying soundproofing materials around it.
Positioning the unit strategically can also reduce noise impact. Advanced options like active noise cancellation exist but aren’t widely available. Aftermarket modifications may help, though specific products are limited for portable units.
What Safety Precautions Should I Take When Installing Noise Reduction Products?
When installing noise reduction products, always disconnect power to avoid electrical shock. You should wear gloves and safety glasses to protect against sharp edges and debris. Guarantee proper ventilation to prevent inhaling dust or fumes.
Follow the manufacturer’s instructions carefully to maintain compatibility and safety. Avoid altering the RV’s structural integrity during installation. Taking these precautions keeps you safe and guarantees your modifications work effectively without causing damage.
Do Noise Reduction Solutions Increase the Energy Consumption of My RV AC?
Think of noise reduction solutions as a gentle breeze easing your AC’s workload rather than a storm adding strain. When you install soft start devices or optimize airflow, they often lower energy consumption by reducing compressor stress.
However, some modifications like ductwork changes might increase fan effort, slightly raising energy use.
Maximize Airflow: Clean Filters and Seal Ducts for Less Noise
By tackling common noise sources and choosing the right noise-reducing methods, you can transform your RV’s air conditioner into a whisper-quiet companion. Picture cruising down the highway with only the gentle hum of your engine, while your AC cools efficiently without the usual clatter.
With proper installation and thoughtful upgrades, you’ll enjoy peaceful, comfortable rides—making every trip as relaxing as a breeze on a calm summer night.

