
Last Updated on December 24, 2023
Are you ready to hit the road in your RV for your next adventure? Before you do, you need to ensure that your water hose is properly sanitized. Just like any other water source, your RV water hose can harbor harmful bacteria and germs that can put your health at risk.
So, how to sanitize your RV water hose with just a few simple steps?
Start by inspecting the hose for any wear or tear that could compromise the water quality. Then, create a sanitizing solution using bleach and water.
You must submerge the hose in this solution for at least 30 minutes, followed by thorough rinsing with clean water. Finally, it’s essential to dry the hose entirely before using it again.
This article explains the above steps you should follow to sanitize your RV water hose and ensure that the water you consume is safe.
Steps on How Do You Sanitize RV Water Hose
Sanitizing your RV water hose is essential for ensuring clean and safe drinking water in your RV. Follow these steps to sanitize your RV water hose properly:
- Step 01: Inspect the Hose
- Step 02: Prepare the Sanitizing Solution
- Step 03: Soak the Hose
- Step 04: Rinse the Hose
- Step 05: Dry the Hose
- Step 06: Store the Hose Properly
Step 01: Inspect the Hose
First, look closely at both ends of your RV water hose for signs of damage or debris before sanitizing it. This step is crucial in ensuring that your hose is in good condition and won’t compromise the quality of your water supply.
Look for cracks or leaks on the hose, as these may lead to contamination or a reduction in water flow. Dirt or contaminants may also accumulate on the surface of your hose, which can cause issues when you start sanitizing it.
If you notice any of these problems, consider replacing the hose instead of proceeding with the sanitization process.
Once you have thoroughly inspected the hose and confirmed that it is free from damage or debris, you can proceed with sanitizing it.
Step 02: Prepare the Sanitizing Solution
You’ll need unscented household bleach and water to prepare the sanitizing solution. The recommended ratio is approximately 1/4 cup of bleach for every 15 gallons of water. Be sure to use a bucket or container to mix the solution thoroughly.
Once the bleach solution is mixed, you’re ready to start sanitizing your RV water hose. It’s best to do this outside so you don’t accidentally spill any of the bleach solutions on your RV’s interior.
Be sure to wear gloves and eye protection to avoid contact with the bleach. Now, we’re ready to move on to the next step, which is actually sanitizing the hose.
Step 03: Soak the Hose
Once you’ve mixed the bleach solution, it’s time for you to submerge the entire length of your hose into the solution and let it soak for at least 15 to 20 minutes to eliminate any potential contaminants.
Ensure the solution fills the hose completely, ensuring that every inch of the hose is sanitized. You can do this by using a large enough container or a bathtub to submerge the hose.
We must note that the soaking process is crucial in eliminating any bacteria or contaminants present in the hose. Due to this, the bleach solution needs time to break down and kill off any harmful microorganisms that may be lurking in the hose.
Step 04: Rinse the Hose
Completely drenching the hose with clean water is an absolute must to eliminate all traces of the bleach solution. After the soaking period, it’s important to rinse the hose thoroughly with clean water.
This will help to flush out any remaining bleach solution that may be present in the hose. To rinse the hose effectively, run water through it for a few minutes. This will help to ensure that any remaining bleach solution is flushed out completely.
Step 05: Dry the Hose
Make sure to get rid of any excess water from the hose to prevent the growth of harmful bacteria and fungi.
After rinsing the hose, take the time to hang it or lay it out flat in a well-ventilated area. This will allow for maximum airflow and ensure that the hose dries completely.
If the hose is not completely dry, it can become a breeding ground for algae, mold, and mildew. These microorganisms can cause health problems and damage the hose, leading to leaks and other issues.
Step 06: Store the Hose Properly
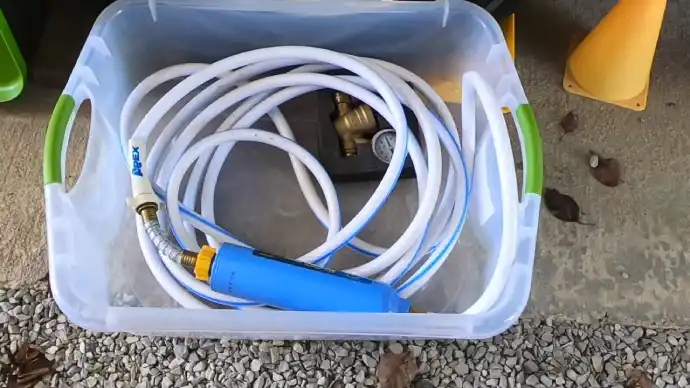
To keep your hose in top condition, store it in a dedicated bin or container, allowing you to keep it separate from other hoses and avoid contamination.
You can choose from various storage options, including hose reels, caddies, or storage bags designed specifically for hoses. These storage options will help you keep your hose organized and prevent it from becoming tangled or damaged.
If you choose to use a hose reel, make sure to cap the ends of the hose to prevent water leakage. This will also help keep your hose free of dust and debris accumulating over time. Also, keep your hose in a cool, dry place to prevent it from becoming brittle or damaged.
How often do you need to replace the RV fresh water hose?
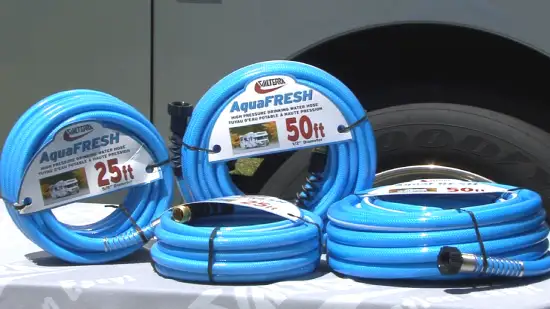
You should replace your RV’s fresh water hose every 2 to 3 years to ensure your water remains clean and safe for drinking. As your RV water hose ages, it can develop cracks & leaks and become home to bacteria and other contaminants.
These factors can lead to unsafe drinking water, which can cause health problems for you and your family.
Replacing your RV’s fresh water hose on a regular basis will not only help you avoid health problems, but it’ll also help you maintain your RV’s plumbing system. A new hose will have a tighter seal, which reduces the risk of leaks and ensures that your RV’s water pressure is optimal.
Also, regardless of how long it has been since you last replaced your RV water hose, you should replace it immediately if it shows signs of wear and tear, such as cracks or discoloration.
Can I use vinegar instead of bleach to sanitize my RV water hose?
You can use vinegar to keep your RV water hose clean if you prefer a natural cleaning option. But, it may not be as effective as bleach in sanitizing your hose.
Using bleach to sanitize your RV water hose is recommended, especially if you’re concerned about potential health risks.
If you still prefer to use vinegar to sanitize your RV water hose, you can soak the hose in a mixture of vinegar and water for an extended period. Remember that vinegar may not be as potent as bleach in killing certain bacteria.
Can I use a pressure washer to clean my RV water hose?
Using a pressure washer can damage your RV water hose. High-pressure water can cause cracks, leaks, or weakened areas in the hose.
This can lead to costly repairs or even the need to replace the hose altogether. To avoid this, it’s recommended to use a gentle cleaning method such as handwashing with a mild soap solution or special sanitizing solution.
Do you need to sanitize RV water lines?
Keeping your drinking water clean and safe is vital, so ensure you regularly clean and disinfect the entire water system in your RV.
This includes the water lines, tanks, and even the hose you use to fill up your tanks. Sanitizing your RV water lines is essential to avoid bacteria growth and other contaminants that can make you sick.
Don’t Risk Your Health: Keep Your RV Water Hose Clean and Safe
Maintaining the cleanliness of your RV water hose is crucial to prevent harmful bacteria and contaminants from entering your water supply.
To achieve this, following the sanitation process outlined above and cleaning your hose before and after each use is essential. Regular sanitization, at least twice a year, is also recommended.
It is important to note that a damaged or worn-out water hose cannot be sanitized effectively and may cause water contamination. Therefore, replacing your RV fresh water hose every 3 years is recommended, or even immediately when visible damage or leaks are noticed.
As a preventative measure, keeping your water hose clean and sanitized helps to safeguard your health and equipment. The well-known adage, “an ounce of prevention is worth a pound of cure,” holds true, especially in the world of RVing.
By following these steps, you can ensure that your water supply remains clean and safe for use, ensuring a worry-free journey ahead.

